FLOW
75 min · advanced

Advanced Yoga Sequence

A 75-minute advanced vinyasa sequence with 18 poses, peak handstand, deep backbends, and breath work. For seasoned practitioners — not flexibility shows.

Share
Advanced practitioner in handstand against a wall

Advanced is the most misused word in yoga marketing. It does not mean you can do the splits. It does not mean you can press into handstand. Plenty of people who can do both are still beginners in the part of the practice that matters. Advanced means precision, control, and breath under load. It means you can stay in a difficult shape for two minutes without losing the quality of your inhale. It means you know when to push and, more importantly, when to back off — and your ego does not get to vote on that decision.

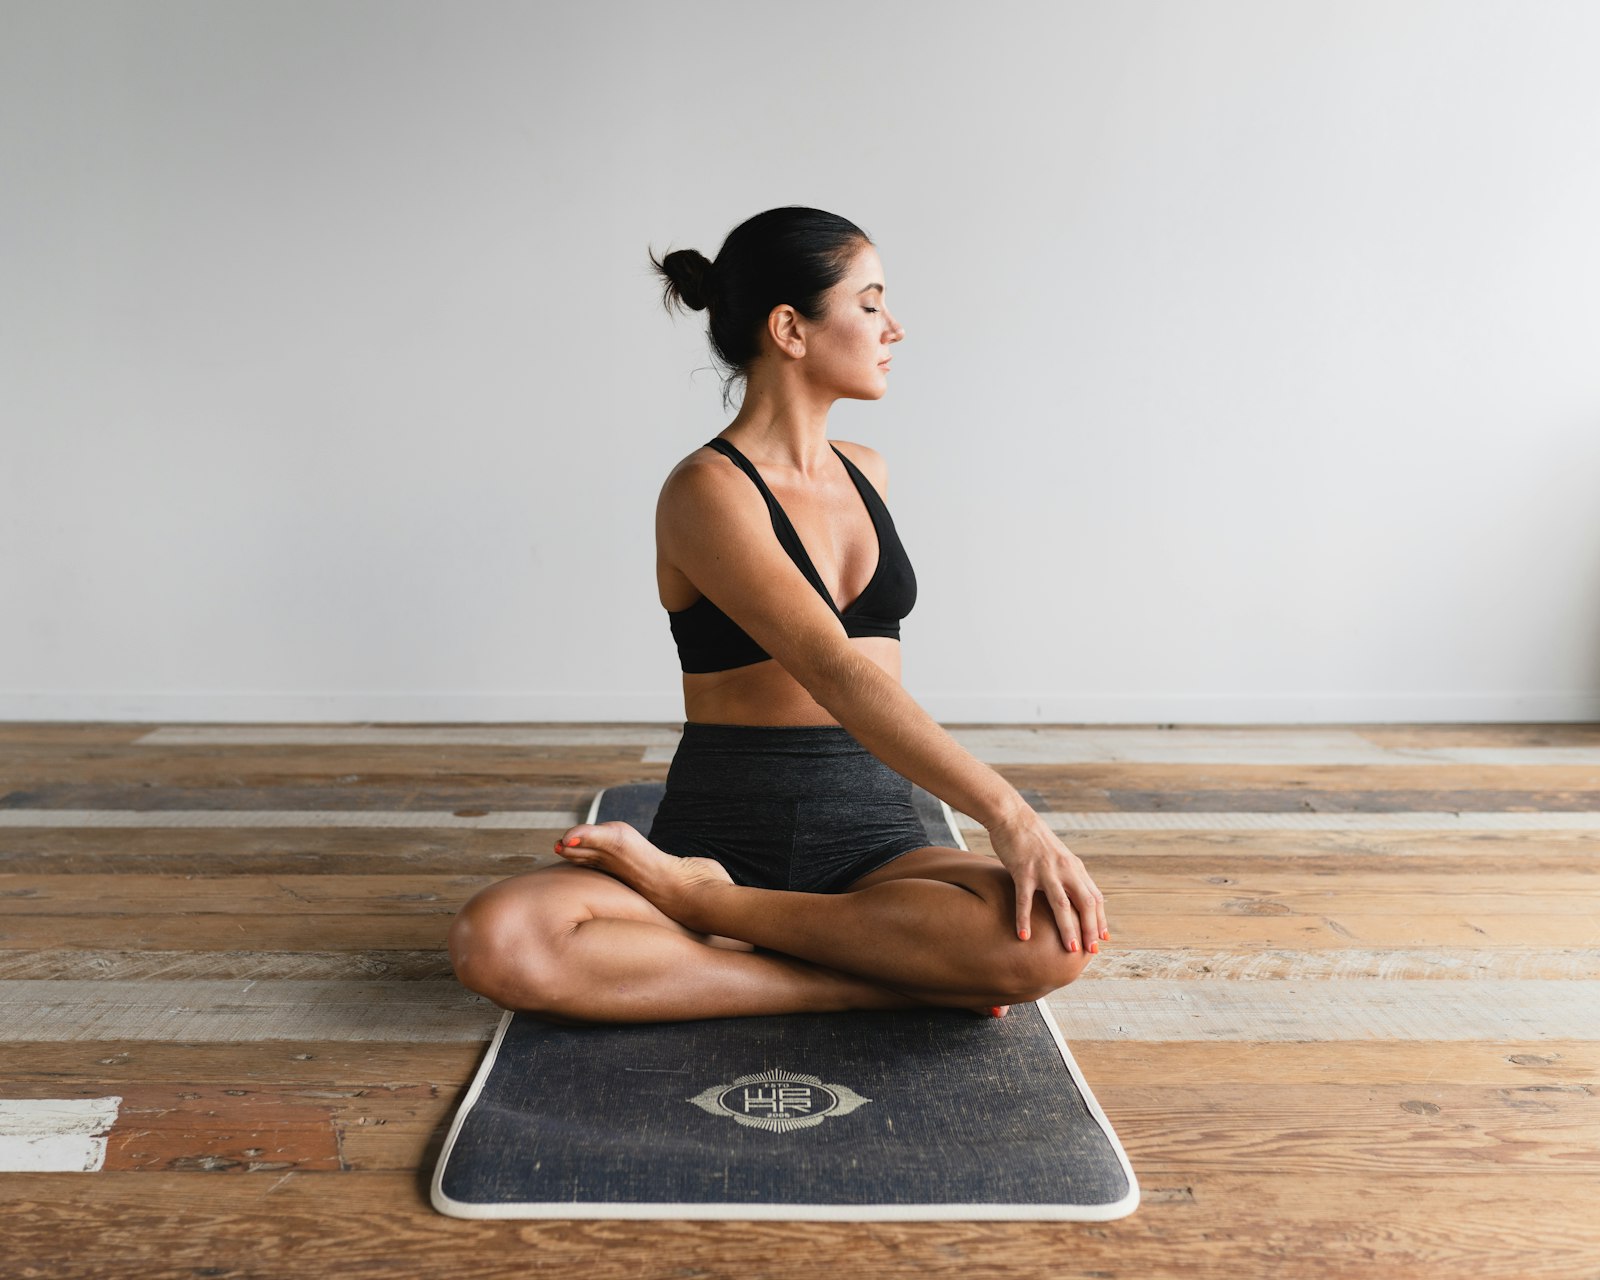
Real advanced practitioners are often quieter on the mat than intermediate ones. They take longer to set up a pose because they care about where their pelvis is and where their lower ribs are. They modify in public. They sit out the second handstand attempt if the first one felt off. They have probably had at least one injury that taught them what overreaching costs and they do not want to learn it twice. If your practice has none of these qualities, you are strong but not yet advanced.

This sequence runs 75 minutes and includes 18 poses, deep hip openers, deep backbends, and a peak handstand sequence. It assumes you have a reliable chaturanga, can hold downward dog comfortably for two minutes, can kick up to handstand against a wall, and have been practicing four or five times a week for at least two years. The single most common advanced mistake is the belief that you can muscle through a pose your body is asking you to skip today. You cannot. Or you can, once.

Who this sequence is for

Practitioners with two-plus years of consistent four-to-five-day-a-week practice, a stable inversion practice at the wall (handstand or forearm stand), reliable arm balances like crow and side crow, and a chaturanga that does not collapse under repetition. You should be familiar with reading your own nervous system — knowing the difference between a productive challenge and a brewing strain. Skip this sequence if you are returning from injury, sleep-deprived, or under acute life stress. Advanced practice respects the day. Strong practitioners who insist on advanced sequences regardless of how they feel are how teachers see torn hamstrings and herniated discs.

How to teach (or practice) it

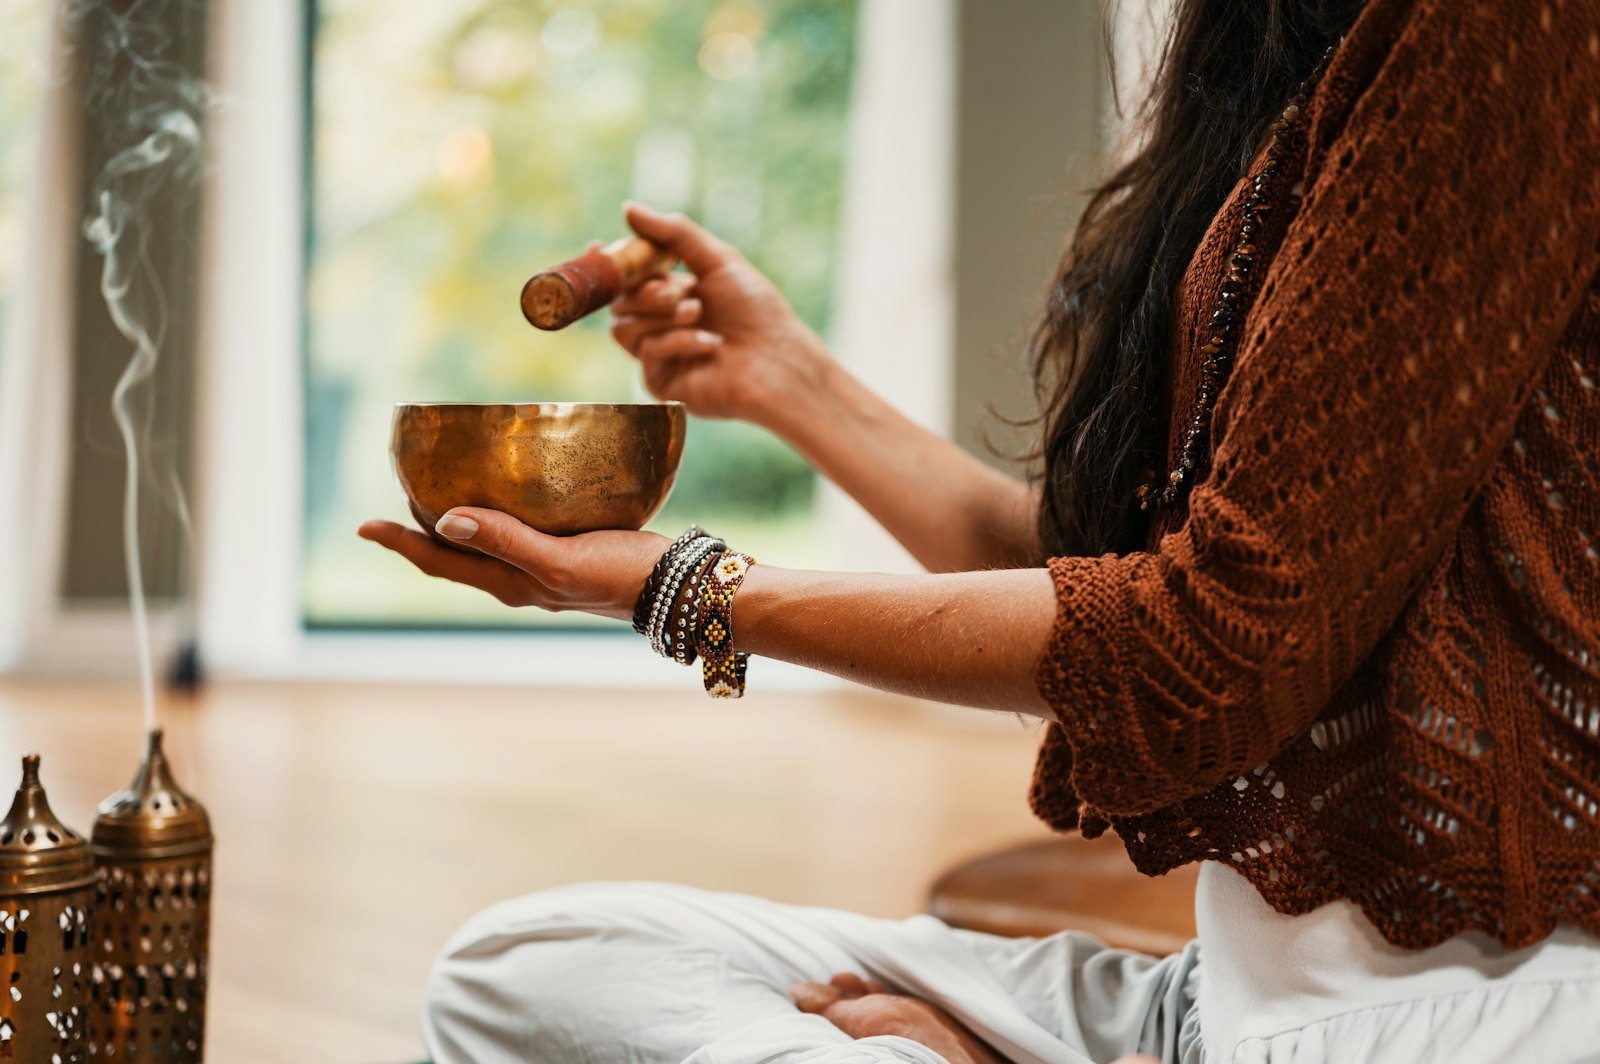
Set aside the full 75 minutes — interrupting an advanced sequence with a phone or a doorbell is how you lose the breath quality the practice is built around. Begin with five minutes of pranayama before the first sun salutation; the breath is the metric for the rest of the session. If your breath gets ragged at any point, slow down. If it disappears, stop the pose.

Move through three rounds of Sun A and three of Sun B before the standing series. Take your time at the wall for the handstand work; this is not the place for free-balancing handstands away from the wall unless that is already reliable elsewhere in your practice. Handstand against the wall, held for 30 to 60 seconds, builds more than five chaotic attempts in the middle of the room.

The backbend section — Wheel and King Pigeon — should be approached with warmth in the hips and openness in the shoulders, which is why they come late in the sequence. Three wheels, not ten. The goal is one excellent shape, not volume. Cool down with a long Savasana and a 10-minute meditation. Practice this sequence once or twice a week, not more.

The Sequence

16 poses · 75 min

  1. 1
    Cat Pose
    Cat Pose
    Marjaryasana
    5 min

    Open the thoracic spine before any backbend work.

  2. 2
    Cow Pose
    Cow Pose
    Bitilasana
    5 min

    Open the thoracic spine before any backbend work.

  3. 3
    Thread the Needle
    Thread the Needle
    Parsva Balasana
    5 min

    Open the thoracic spine before any backbend work.

  4. 4
    Revolved Forward Fold
    Revolved Forward Fold
    Parivrtta Uttanasana
    6 breaths each side

    Rotate the thoracic spine. Do not yank with the arm.

  5. 5
    Crow Pose
    Crow Pose
    Bakasana
    3 rounds of 5 breaths

    Knees high on the upper arms. Look forward, not down.

  6. 6
    Side Crow Pose
    Side Crow Pose
    Parsva Bakasana
    5 breaths each side

    Twist deeply before the lift. The arms are the shelf.

  7. 7
    Headstand L-Shape
    Headstand L-Shape
    Sirsasana L
    3 attempts, 30-60 sec hold

    Stack shoulders over wrists, ribs in, legs together.

  8. 8
    Headstand L-Shape
    Headstand L-Shape
    Sirsasana L
    2 attempts, 20-40 sec

    Press the forearms down. Look between the hands.

  9. 9
    Camel Pose
    Camel Pose
    Ustrasana
    5 breaths

    Lift from the chest, not from the lower back.

  10. 10
    Full Wheel Pose
    Full Wheel Pose
    Urdhva Dhanurasana
    3 rounds of 5 breaths

    Press hands and feet into the floor with equal force.

  11. 11
    Resting Half Pigeon
    Resting Half Pigeon
    5 breaths each side

    Use a strap if the foot does not reach the head.

  12. 12
    Plow Pose
    Plow Pose
    Halasana
    8 breaths

    Toes to the floor only if the neck stays neutral.

  13. 13
    Supported Shoulderstand
    Supported Shoulderstand
    Salamba Sarvangasana
    2 min

    Weight on the shoulders, never on the cervical spine.

  14. 14
    Supported Sphinx Pose
    Supported Sphinx Pose
    Salamba Bhujangasana
    5 breaths

    Counter-pose to shoulderstand. Open the throat slowly.

  15. 15
    Seated Meditation
    10 min

    Spine tall. Mind quiet. This is the practice.

  16. 16
    Corpse Pose
    Corpse Pose
    Savasana
    8-10 min

    No timer. No phone. No exit plan.

Coaching notes

The most common advanced mistake is the belief that you can muscle through. You are strong enough that you can. That is the problem. The body's warning signals at this level are subtle — a slight twinge in the SI joint, a hamstring origin that feels 'tight' rather than long, a wrist that complains in the first chaturanga but stops complaining by the third. Strong practitioners read these as signals to push through. They are signals to back off.

When to back off, specifically: when your breath shortens in a hold and does not return after three full cycles, when a stretching sensation moves from belly of muscle to tendon attachment, when a joint feels 'sticky' instead of fluid, when you find yourself negotiating with the pose. Take the easier variation. Skip the second side of an arm balance if the first felt unstable. Come out of a backbend that is happening in your lumbar instead of your thoracic.

Advanced is a 20-year practice. Most injuries here happen in year three or four, after the body has gotten strong and before the mind has gotten patient. Outlast that window and the practice will outlast you.

FAQ

What actually makes a yoga practice advanced?+

Breath quality under load. If you can hold a difficult pose for two minutes with the same breath rhythm you have in Savasana, that is advanced. Flexibility and arm balances are visible, but breath control is the real marker — and it is what most show-off practitioners are missing.

Is handstand required to be advanced?+

No. Inversions are a category of pose, not a level. Plenty of advanced practitioners do not do handstand because of wrist issues, shoulder issues, or vestibular issues, and their practice is still advanced. Skip the inversion section without guilt and substitute longer forearm work.

I can do every pose here but I keep getting injured. Why?+

Because you can muscle through, which means you do not yet know when to back off. The advanced practitioner who never gets injured is rare and instructive — they consistently take the smaller version when the day is off. Strength masks the warnings the body sends; learn to read them anyway.

How often should I do an advanced sequence?+

Once or twice a week, with restorative or yin practice on other days. Daily advanced practice is how people in their 30s end up needing hip replacements in their 50s. The yoga tradition is full of advanced practitioners in their 80s — none of them got there by hammering peak sequences every day.

Should I free-balance handstand instead of using the wall?+

Only if you already have a reliable free-balance handstand from another setting. Adding free-balance attempts to a vinyasa flow when you are already warm and tired is when shoulders give out. Use the wall, hold longer, and do free-balance work in a dedicated session.

FLOW Yoga Sequence Builder

Build your own level sequence in minutes

Drag-and-drop in the FLOW builder. Set per-pose duration, side, and notes. Save, share, and export to PDF. Free to start; Pro is $4.99/month with a 7-day free trial.